New Book of Days
-
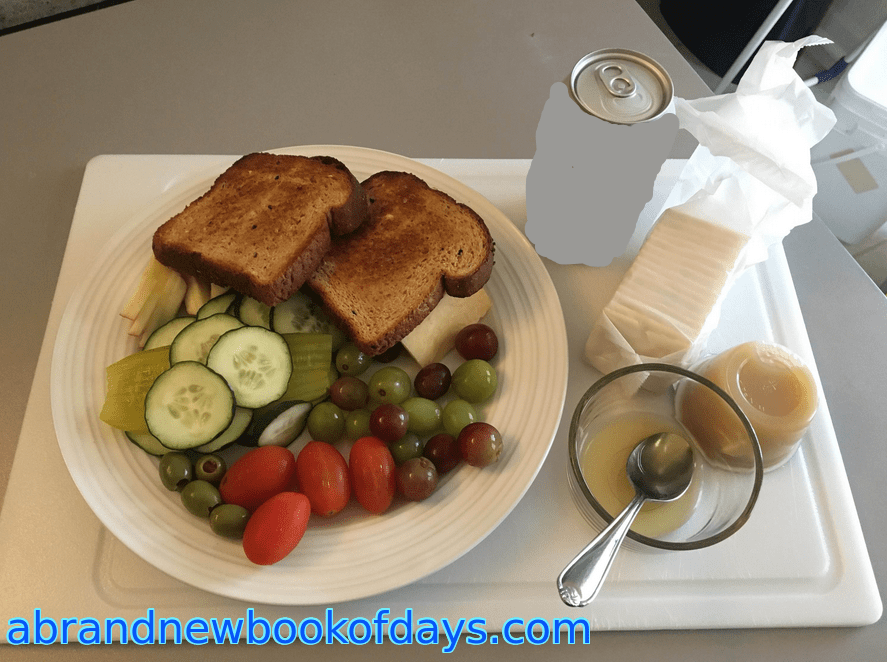
Less Simple Cheese Plate
Jul 25, 2024 by HTV9 This cheese plate builds on the original cheese plate https://abrandnewbookofdays.com/2024/07/25/simple-cheese-plate/ with some toast, honey, applesauce, crackers, olives, a pickle and a can of soda. This one really was a “let’s clean out the fridge” plate © http://www.abrandnewbookofdays.com 2024
-
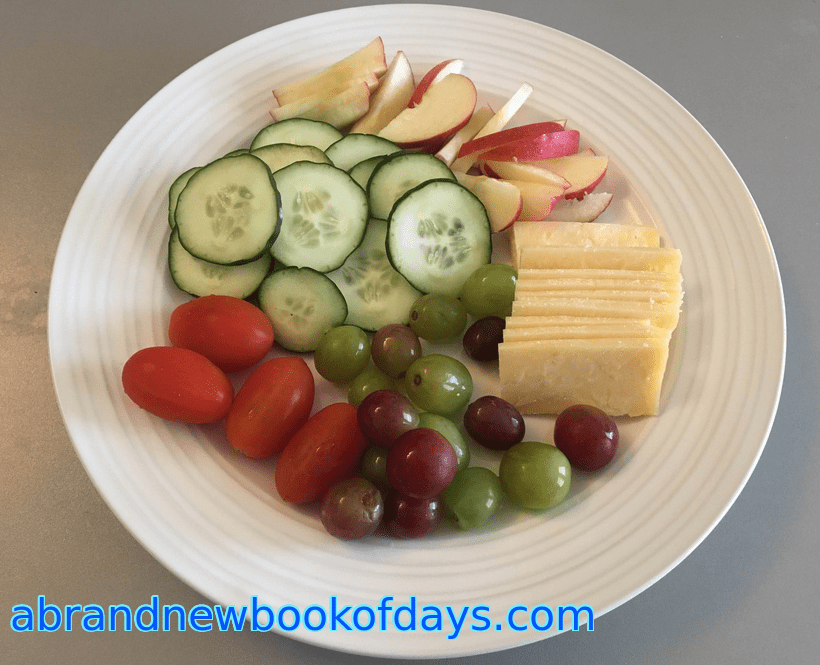
Simple Cheese Plate
Jul 25, 2024 by HTV9 This is an affordable and tasty cheese plate that’s relatively easy. The hardest part is figuring out what goes well with other stuff. I like the notion of doing this kind of thing to clean out the fridge and that’s what I did for this one. © http://www.abrandnewbookofdays.com 2024
-
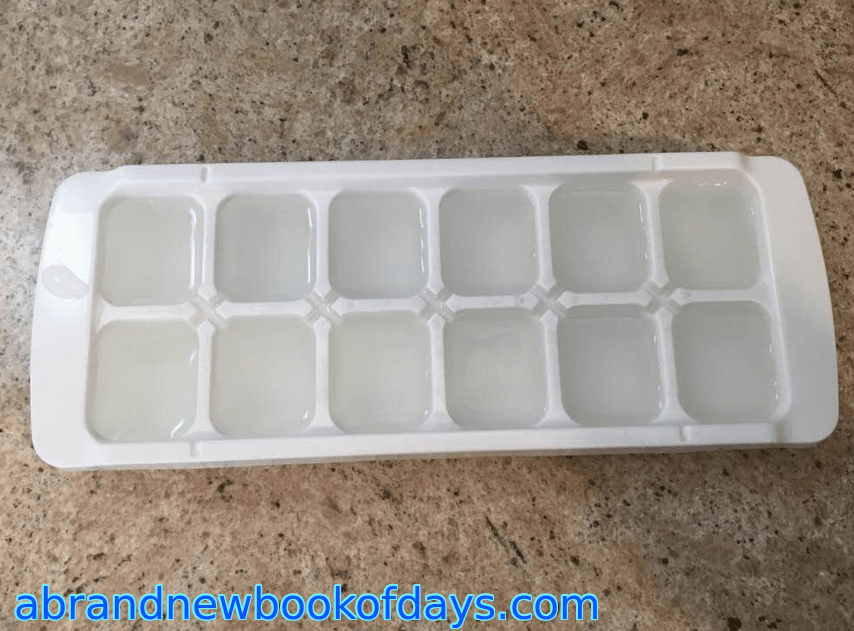
Electrolyte Drink Ice Cubes
Jul 16, 2024 by HTV9 This was a bit of an experiment. I mixed the usual electrolyte mix that I shake up with water with a little bit of bottled lemon juice and poured it into an ice cube tray to freeze. Several hours later, the cubes are in the glass of water at my…
-
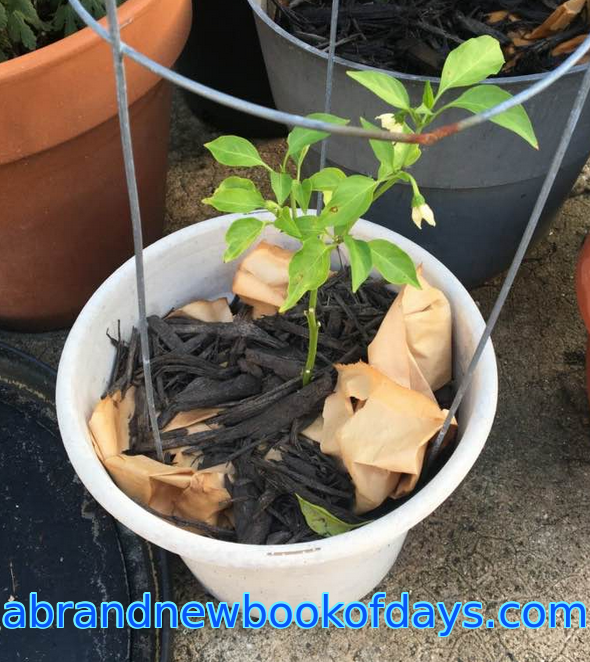
Water Conserving In Potted Plants
Jul 9, 2024 by HTV9 This is a pepper plant. I ripped up paper sandwich bags to top the soil and covered that with some mulch. You could probably use grocery bags and ripped up cardboard instead but oddly, I had none. The real heat of the Texas summer hasn’t hit yet but so far…
-
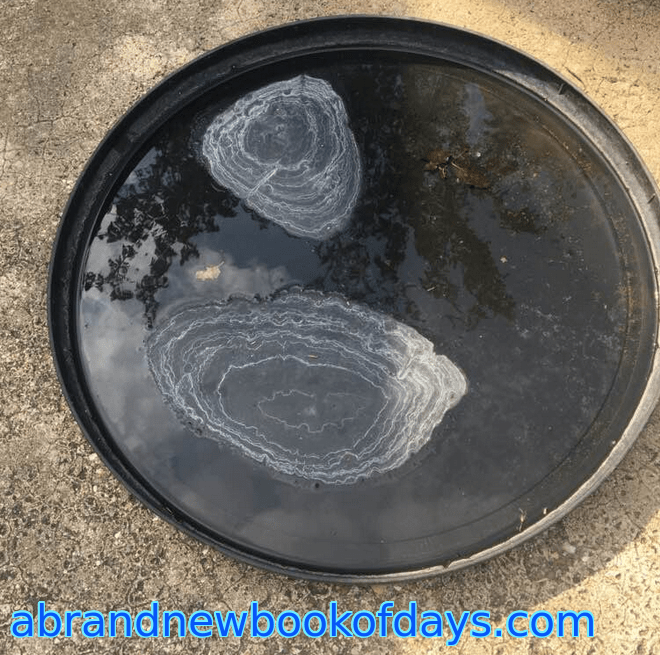
Pond?
Jul 9, 2024 by HTV9 This black plastic pot liner thing is my version of a birdbath and water feature. It fills with rain, and sometimes I dump it out and wash it with the hose by jamming my thumb in the hose end to create more pressure from the hose. When it dries out…
-
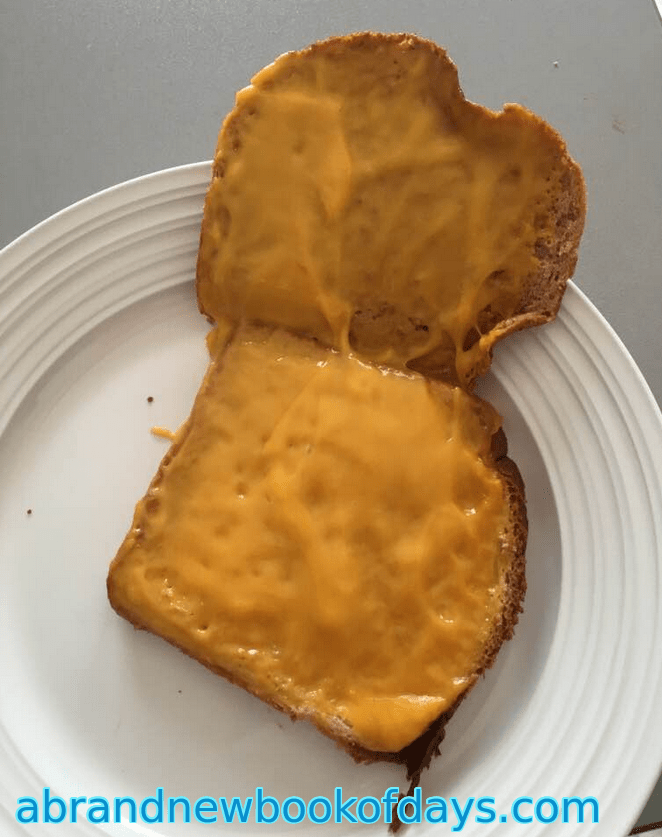
Microwaved Vegan Cheese Sandwich
Jul 9, 2024 by HTV9 This is what a microwaved vegan cheese sandwich looks like. The cheese is a brand I choose not to name, as I suspect many will behave like this one. As you can see, it’s melted. I’ve had experience with vegan cheeses in just about everything else, and they often refuse…
-
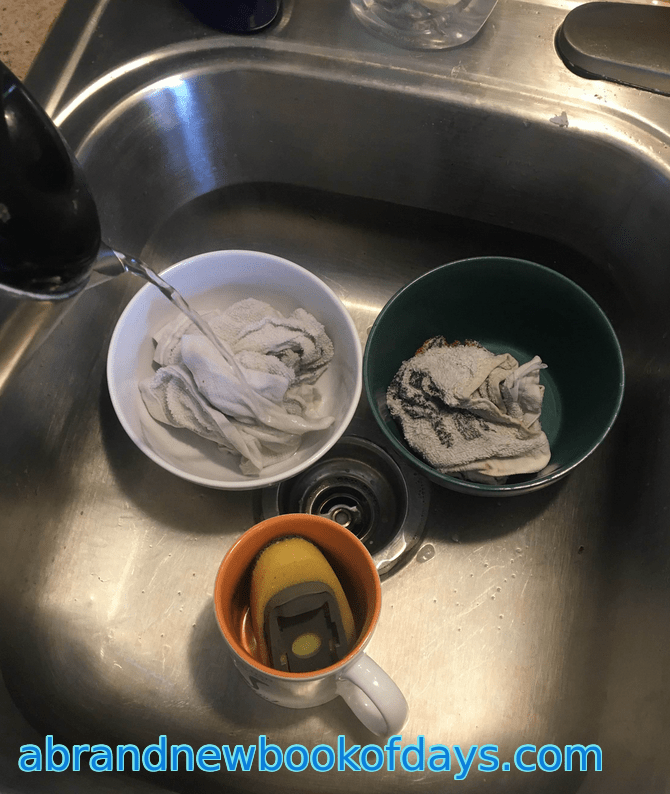
An Attempt At Reusable Kitchen Washcloths
Jun 19, 2024 by HTV9 This might not be the most accessible post but it is what it is. Here was my idea: what if I cleaned up the washcloths already in the kitchen, sterilized them, then kept them in the kitchen and used them only to clean said kitchen and its surfaces, cleaning them…
-

Cereal Box Cord Organizer Design 1
Jun 4, 2024 by HTV9 The other day my husband tripped on all the cords coming out of this octopus type multi-charger thing. Not for the first time. Since that’s a safety hazard I decided enough was enough. Here’s what I did: 1. Grabbed a pair of scissors and a small serrated blade knife 2.…
-

Lemonade Cold Brew
May 14, 2024 by HTV9 The original idea here was to fill up ice cube trays with undiluted lemon juice and sugar mix but the ice cube trays aren’t clean now so that’s out. So here’s what’s going on. This contains the juice of 1 lemon freshly squeezed, about 2 tablespoons of sugar, some tap…
